- Events
- Australia Day
- Bastille Day
- Burns Night
- Christmas
- Darts
- Day of the Dead
- Eurovision
- Festivals / Summer
- Halloween
- Halloween Accessories
- Nativity
- Oktoberfest
- Olympics
- Pride
- Red Nose Day
- School Play Costumes
- St Andrew's Day
- St Davids Day
- St Georges / England Supporters
- St Patricks Day
- Six Nations Rugby
- Stag Do
- Summer
- Thanksgiving
- VE Day
- World Book Day
- Adult World Book Day Costumes
- 4th July

- Themes
- Animals
- Around The World
- Book Characters
- British
- Chocolate Factory
- Cops & Robbers
- Cosplay
- DC
- Doctors and Nurses
- Fairytale
- Funny / Novelty
- Gangster
- Harry Potter
- Hawaiian / Summer
- Heroes and Villains
- Historical
- Army, Air Force & Naval
- Mexican Fiesta
- Pick Me Up
- Pink Cowgirl Hat Aesthetic
- Pirates
- Popstars and Celebrities
- Pre Historic
- Religious
- Sexy Costumes
- Sports
- Star Wars
- Steampunk
- Suits
- Tiger King
- TV, Film and Game
- Wild West
- Wizard of Oz
- Wizards & Witches
- 2000s
- 1990s
- 1980s
- 1960s 1970s
- 1950s
- 1940s
- 1920s


- Cosmetics
- Body Crayons
- Eye Liner
- Fabric Paint
- Face & Body Paint
- Face Jewels
- Fake Blood
- FX Fluids
- Glitter Fixatives
- Glitter Gel
- Glitter Shaker
- Hair Colour Spray
- Hair Gel
- Hair Streaks
- Lipgloss
- Lipstick
- Lip Tattoos
- Loose Glitter
- Mascara
- Nail Polish
- Pigment Shakers
- Pro Face Paint Cake Pots
- Scars, Wounds, Prosthetics & FX

- Accessories
- Bandanas & Scarves
- Belts
- Braces
- Capes
- Elf Accessories
- Eye Lashes
- Facial Hair
- Feather Boas
- Glasses
- Gloves
- Guns, Weapons & Swords
- Hats & Headwear
- Hosiery
- Inflatables
- Jewellery
- Masks
- Masquerade Masks
- Nipple Pasties
- Pacifiers
- Props
- Sets & Kits
- Shoe Covers
- Shoes / Boots
- Sleeves
- Teeth
- Ties & Bowties
- Tutus & Underskirts
- Wigs
- Wings & Wands
- Other


- Gifts by Category
- Alternative
- Balloon Dog Sculptures
- Batteries
- Colouring Books
- Decorative Accessories
- Food & Drink
- Fragrance
- Gadgets & Tech
- Gift Sets
- Gifts for the Home
- Homeware
- Jewellery
- Keepsakes
- Knitting Wool
- Life
- Luggage & Suitcases
- Miscellaneous
- Ornaments
- Personalised Gifts
- Puzzle Books
- Puzzles
- Slippers
- Smoking
- Stationery
- Umbrellas
- Vehicle
- Wallets & Purses
- Warmies


-
- Australia Day
- Bastille Day
- Burns Night
- Christmas
- Darts
- Day of the Dead
- Eurovision
- Festivals / Summer
- Halloween
- Halloween Accessories
- Nativity
- Oktoberfest
- Olympics
- Pride
- Red Nose Day
- School Play Costumes
- St Andrew's Day
- St Davids Day
- St Georges / England Supporters
- St Patricks Day
- Six Nations Rugby
- Stag Do
- Summer
- Thanksgiving
- VE Day
- World Book Day
- Adult World Book Day Costumes
- 4th July
-
- Animals
- Around The World
- Book Characters
- British
- Chocolate Factory
- Cops & Robbers
- Cosplay
- DC
- Doctors and Nurses
- Fairytale
- Funny / Novelty
- Gangster
- Harry Potter
- Hawaiian / Summer
- Heroes and Villains
- Historical
- Army, Air Force & Naval
- Mexican Fiesta
- Pick Me Up
- Pink Cowgirl Hat Aesthetic
- Pirates
- Popstars and Celebrities
- Pre Historic
- Religious
- Sexy Costumes
- Sports
- Star Wars
- Steampunk
- Suits
- Tiger King
- TV, Film and Game
- Wild West
- Wizard of Oz
- Wizards & Witches
- 2000s
- 1990s
- 1980s
- 1960s 1970s
- 1950s
- 1940s
- 1920s
-
- Body Crayons
- Eye Liner
- Fabric Paint
- Face & Body Paint
- Face Jewels
- Fake Blood
- FX Fluids
- Glitter Fixatives
- Glitter Gel
- Glitter Shaker
- Hair Colour Spray
- Hair Gel
- Hair Streaks
- Lipgloss
- Lipstick
- Lip Tattoos
- Loose Glitter
- Mascara
- Nail Polish
- Pigment Shakers
- Pro Face Paint Cake Pots
- Scars, Wounds, Prosthetics & FX
-
- Bandanas & Scarves
- Belts
- Braces
- Capes
- Elf Accessories
- Eye Lashes
- Facial Hair
- Feather Boas
- Glasses
- Gloves
- Guns, Weapons & Swords
- Hats & Headwear
- Hosiery
- Inflatables
- Jewellery
- Masks
- Masquerade Masks
- Nipple Pasties
- Pacifiers
- Props
- Sets & Kits
- Shoe Covers
- Shoes / Boots
- Sleeves
- Teeth
- Ties & Bowties
- Tutus & Underskirts
- Wigs
- Wings & Wands
- Other


-
- Alternative
- Balloon Dog Sculptures
- Batteries
- Colouring Books
- Decorative Accessories
- Food & Drink
- Fragrance
- Gadgets & Tech
- Gift Sets
- Gifts for the Home
- Homeware
- Jewellery
- Keepsakes
- Knitting Wool
- Life
- Luggage & Suitcases
- Miscellaneous
- Ornaments
- Personalised Gifts
- Puzzle Books
- Puzzles
- Slippers
- Smoking
- Stationery
- Umbrellas
- Vehicle
- Wallets & Purses
- Warmies

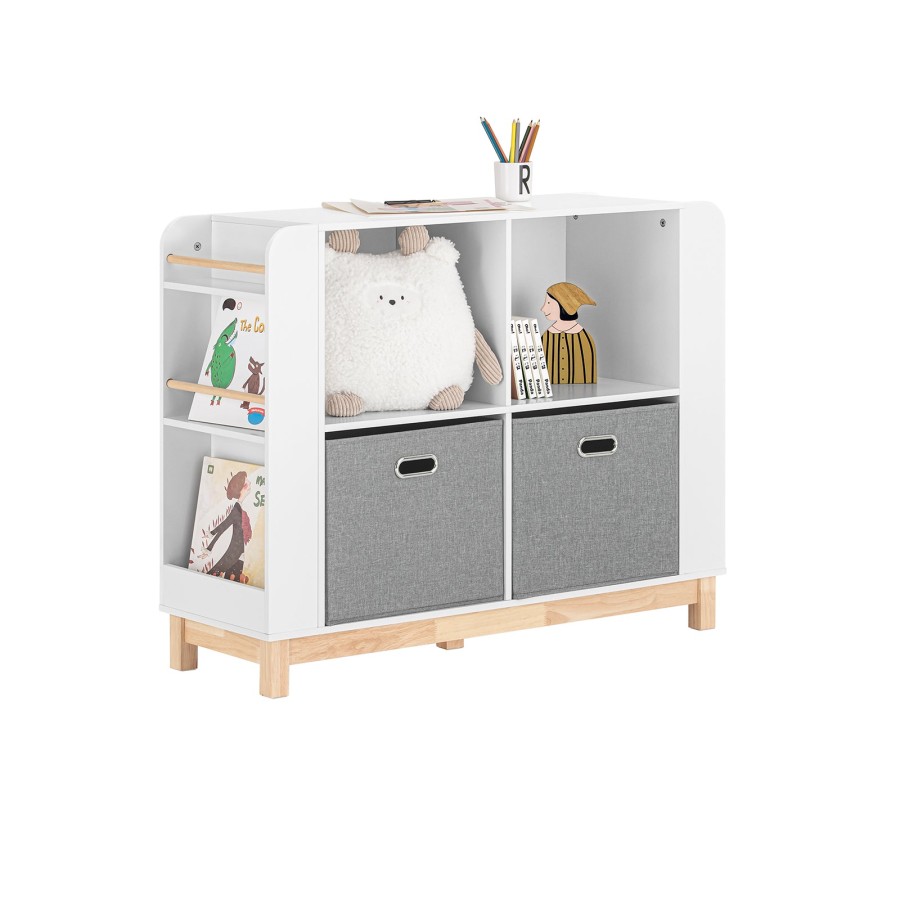
How To Build A Toy Box
by Darren Butler
Last updated: Feb 06, 2026
Building a toy box is a rewarding DIY project that combines practicality with creativity. Not only does it provide a tidy home for children’s toys, but it also adds a charming, personal touch to any bedroom or playroom. A well-built toy box can last for years, withstand daily use, and even become a treasured keepsake. Best of all, you don’t need to be an expert carpenter to make one. With some basic tools, affordable timber, and a little patience, you can create a sturdy, safe and attractive storage solution that suits your space perfectly.
Tools and Materials You Will Need
Before starting, gather everything you need to avoid unnecessary interruptions. Most items are available from a local DIY shop.
Tools:
- Tape measure
- Pencil
- Saw (hand saw or circular saw)
- Drill and drill bits
- Screwdriver
- Sandpaper or electric sander
- Clamps (optional but helpful)
Materials:
- Timber boards (pine is ideal for beginners)
- Wood screws
- Wood glue
- Hinges (soft-close or safety hinges recommended)
- Wood filler
- Paint, stain or varnish
Choosing good quality timber will make a noticeable difference to the finished result. Pine is affordable, easy to cut, and takes paint or stain very well.
Planning the Size and Design
Start by deciding how big you want the toy box to be. Consider the available space in the room and the volume of toys you want to store. A common size is approximately 80cm wide, 40cm deep, and 45cm high, but you can easily adjust this.
Sketch a simple plan showing:
- Front and back panels
- Two side panels
- A base
- A lid
This step prevents mistakes later and helps you calculate how much timber you will need. If you want to personalise the box with handles, curved edges, or decorative panels, factor this into your design now.
Cutting the Timber to Size
Measure carefully and mark your timber before cutting. The key here is accuracy. Even a few millimetres out can cause the box to sit unevenly.
You will need:
- 1 base panel
- 2 side panels
- 1 front panel
- 1 back panel
- 1 lid panel
If you are using a hand saw, take your time and cut slowly. If using a circular saw, clamp the timber down securely before cutting.
Once cut, lightly sand all edges to remove splinters and roughness.
Assembling the Main Box Frame
Start by attaching the side panels to the base using wood glue and screws. Drill pilot holes first to prevent the timber from splitting.
Next, attach the front and back panels in the same way. Use clamps if you have them to hold everything square while you screw it together.
Check with a set square or by measuring diagonally across the box to ensure it is perfectly square. This will make fitting the lid much easier later.
Allow the glue to dry fully before moving on.
Adding the Lid Safely
The lid is an important part of the toy box and must be fitted safely. Standard hinges can allow the lid to slam shut, which can trap little fingers.
Fit soft-close hinges or safety hinges designed specifically for toy boxes. These prevent sudden closing and are widely available.
Position the hinges evenly along the back edge. Pre-drill holes and screw them into place. Test the lid movement several times to ensure it opens and closes smoothly.
You may also choose to round off the front corners of the lid with sandpaper for extra safety.
Sanding and Preparing the Surface
Once assembled, sand the entire toy box thoroughly. Pay attention to edges, corners and screw areas.
Fill any visible screw holes or gaps with wood filler. Once dry, sand again to create a smooth finish.
This step is essential if you plan to paint or varnish, as it ensures a professional-looking result.
Painting, Staining or Varnishing
Now comes the creative part. Decide whether you want a natural wood finish or a colourful painted design.
- Varnish or stain shows off the natural grain of the wood.
- Paint allows you to match the toy box to a room’s colour scheme.
If painting, apply a primer first for best results. Use child-safe, non-toxic paints and finishes.
You can personalise the box with stencils, names, patterns, or decals to make it unique.
Allow plenty of drying time between coats.

Adding Finishing Touches
Small details can make a big difference to the final look and usability.
Consider adding:
- Rope or wooden handles on the sides
- Rubber feet underneath to protect floors
- A slow-close lid support if not using safety hinges
- Decorative moulding around the edges
These finishing touches enhance both safety and style.
Safety Considerations
Because this toy box is for children, safety is crucial.
Ensure:
- All edges are smooth and rounded
- The lid cannot slam shut
- There are no sharp screws protruding
- The finish is non-toxic and child-safe
- Air gaps are present (small gap at the back) to prevent trapped air if a child climbs inside
Taking these precautions makes the toy box safe as well as practical.
Conclusion
Building a toy box is a straightforward and satisfying project that delivers long-lasting value. With basic tools, careful planning, and attention to safety, you can create a beautiful storage solution that keeps toys organised and rooms clutter-free. The ability to customise the size, colour and design means your toy box will be perfectly suited to your home. Whether you choose a natural wood finish or a bright painted design, the end result is both practical and personal. Most importantly, you will have built something durable, useful and meaningful with your own hands that can be enjoyed for years.
- Menu
- Fancy Dress
- Electronics & Gaming
- Clothing
- Pet Products
- Garden
- Tools & DIY
- Home & Leisure
- Gifting & Parties
- Toys
- Information
- About Us
- Become a seller
- Affiliate Programme
- Frequently Asked Questions
- Returns and Refunds
- Terms And Conditions
- Privacy Policy
- View our blog
- Featured
- View more
- Customer Care
- [email protected]
- +44 (0) 1702 617821
- ILFD Group Ltd T/A Cazaar®
- Company Number: 07034824