- Events
- Australia Day
- Bastille Day
- Burns Night
- Christmas
- Darts
- Day of the Dead
- Eurovision
- Festivals / Summer
- Halloween
- Halloween Accessories
- Nativity
- Oktoberfest
- Olympics
- Pride
- Red Nose Day
- School Play Costumes
- St Andrew's Day
- St Davids Day
- St Georges / England Supporters
- St Patricks Day
- Six Nations Rugby
- Stag Do
- Summer
- Thanksgiving
- VE Day
- World Book Day
- Adult World Book Day Costumes
- 4th July

- Themes
- Animals
- Around The World
- Book Characters
- British
- Chocolate Factory
- Cops & Robbers
- Cosplay
- DC
- Doctors and Nurses
- Fairytale
- Funny / Novelty
- Gangster
- Harry Potter
- Hawaiian / Summer
- Heroes and Villains
- Historical
- Army, Air Force & Naval
- Mexican Fiesta
- Pick Me Up
- Pink Cowgirl Hat Aesthetic
- Pirates
- Popstars and Celebrities
- Pre Historic
- Religious
- Sexy Costumes
- Sports
- Star Wars
- Steampunk
- Suits
- Tiger King
- TV, Film and Game
- Wild West
- Wizard of Oz
- Wizards & Witches
- 2000s
- 1990s
- 1980s
- 1960s 1970s
- 1950s
- 1940s
- 1920s


- Cosmetics
- Body Crayons
- Eye Liner
- Fabric Paint
- Face & Body Paint
- Face Jewels
- Fake Blood
- FX Fluids
- Glitter Fixatives
- Glitter Gel
- Glitter Shaker
- Hair Colour Spray
- Hair Gel
- Hair Streaks
- Lipgloss
- Lipstick
- Lip Tattoos
- Loose Glitter
- Mascara
- Nail Polish
- Pigment Shakers
- Pro Face Paint Cake Pots
- Scars, Wounds, Prosthetics & FX

- Accessories
- Bandanas & Scarves
- Belts
- Braces
- Capes
- Elf Accessories
- Eye Lashes
- Facial Hair
- Feather Boas
- Glasses
- Gloves
- Guns, Weapons & Swords
- Hats & Headwear
- Hosiery
- Inflatables
- Jewellery
- Masks
- Masquerade Masks
- Nipple Pasties
- Pacifiers
- Props
- Sets & Kits
- Shoe Covers
- Shoes / Boots
- Sleeves
- Teeth
- Ties & Bowties
- Tutus & Underskirts
- Wigs
- Wings & Wands
- Other


- Gifts by Category
- Alternative
- Balloon Dog Sculptures
- Batteries
- Colouring Books
- Decorative Accessories
- Food & Drink
- Fragrance
- Gadgets & Tech
- Gift Sets
- Gifts for the Home
- Homeware
- Jewellery
- Keepsakes
- Knitting Wool
- Life
- Luggage & Suitcases
- Miscellaneous
- Ornaments
- Personalised Gifts
- Puzzle Books
- Puzzles
- Slippers
- Smoking
- Stationery
- Umbrellas
- Vehicle
- Wallets & Purses
- Warmies


-
- Australia Day
- Bastille Day
- Burns Night
- Christmas
- Darts
- Day of the Dead
- Eurovision
- Festivals / Summer
- Halloween
- Halloween Accessories
- Nativity
- Oktoberfest
- Olympics
- Pride
- Red Nose Day
- School Play Costumes
- St Andrew's Day
- St Davids Day
- St Georges / England Supporters
- St Patricks Day
- Six Nations Rugby
- Stag Do
- Summer
- Thanksgiving
- VE Day
- World Book Day
- Adult World Book Day Costumes
- 4th July
-
- Animals
- Around The World
- Book Characters
- British
- Chocolate Factory
- Cops & Robbers
- Cosplay
- DC
- Doctors and Nurses
- Fairytale
- Funny / Novelty
- Gangster
- Harry Potter
- Hawaiian / Summer
- Heroes and Villains
- Historical
- Army, Air Force & Naval
- Mexican Fiesta
- Pick Me Up
- Pink Cowgirl Hat Aesthetic
- Pirates
- Popstars and Celebrities
- Pre Historic
- Religious
- Sexy Costumes
- Sports
- Star Wars
- Steampunk
- Suits
- Tiger King
- TV, Film and Game
- Wild West
- Wizard of Oz
- Wizards & Witches
- 2000s
- 1990s
- 1980s
- 1960s 1970s
- 1950s
- 1940s
- 1920s
-
- Body Crayons
- Eye Liner
- Fabric Paint
- Face & Body Paint
- Face Jewels
- Fake Blood
- FX Fluids
- Glitter Fixatives
- Glitter Gel
- Glitter Shaker
- Hair Colour Spray
- Hair Gel
- Hair Streaks
- Lipgloss
- Lipstick
- Lip Tattoos
- Loose Glitter
- Mascara
- Nail Polish
- Pigment Shakers
- Pro Face Paint Cake Pots
- Scars, Wounds, Prosthetics & FX
-
- Bandanas & Scarves
- Belts
- Braces
- Capes
- Elf Accessories
- Eye Lashes
- Facial Hair
- Feather Boas
- Glasses
- Gloves
- Guns, Weapons & Swords
- Hats & Headwear
- Hosiery
- Inflatables
- Jewellery
- Masks
- Masquerade Masks
- Nipple Pasties
- Pacifiers
- Props
- Sets & Kits
- Shoe Covers
- Shoes / Boots
- Sleeves
- Teeth
- Ties & Bowties
- Tutus & Underskirts
- Wigs
- Wings & Wands
- Other


-
- Alternative
- Balloon Dog Sculptures
- Batteries
- Colouring Books
- Decorative Accessories
- Food & Drink
- Fragrance
- Gadgets & Tech
- Gift Sets
- Gifts for the Home
- Homeware
- Jewellery
- Keepsakes
- Knitting Wool
- Life
- Luggage & Suitcases
- Miscellaneous
- Ornaments
- Personalised Gifts
- Puzzle Books
- Puzzles
- Slippers
- Smoking
- Stationery
- Umbrellas
- Vehicle
- Wallets & Purses
- Warmies

How to Apply Wood Stain
by Darren Butler
Last updated: Nov 07, 2025
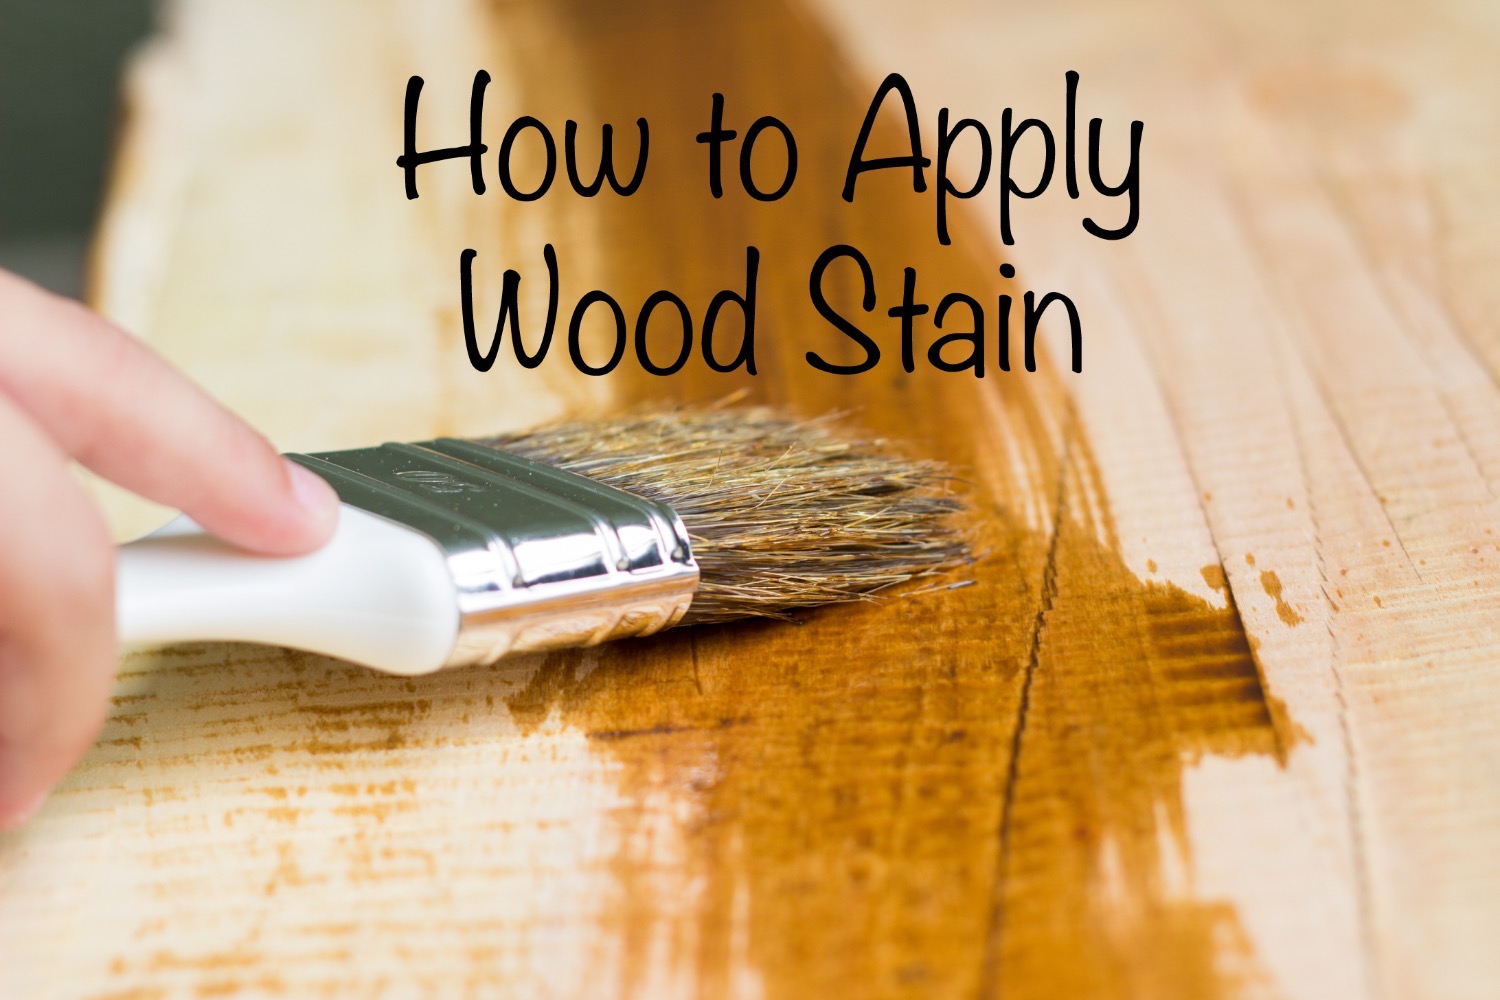
Whether you’re reviving a tired dining table, matching new skirting boards to existing trim, or giving a garden bench a richer tone, staining wood is a satisfying DIY job that dramatically changes the look and feel of timber. The key to a professional finish isn’t expensive kit—it’s patient preparation and a clear, step-by-step approach. In this guide, we’ll cover choosing the right stain, surface prep, application methods, and the little tricks that prevent blotches, lap marks, and sticky finishes. Follow along and you’ll get consistent colour, even grain definition, and a durable base ready for oil, wax, or varnish topcoats.
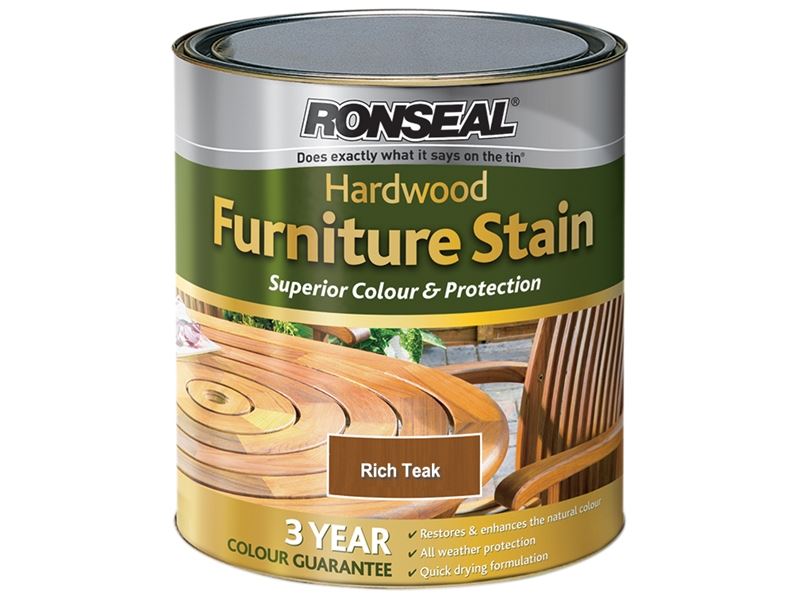
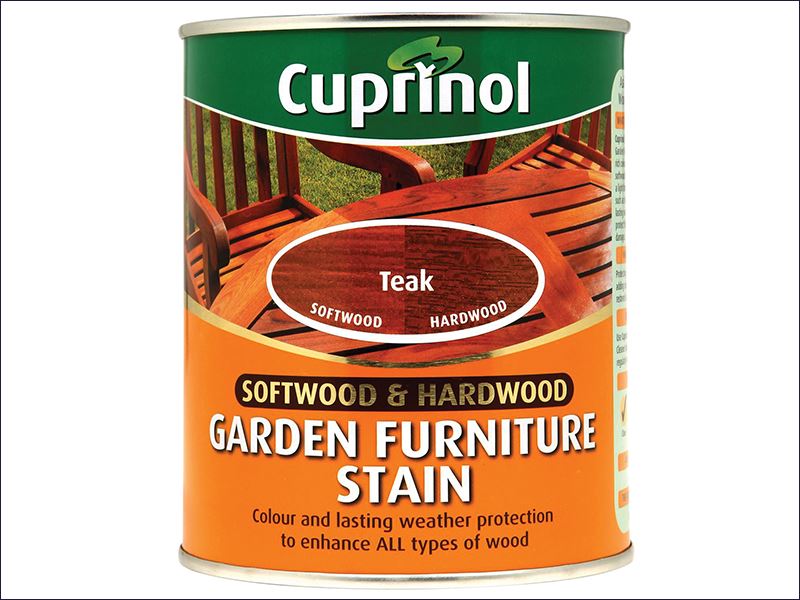
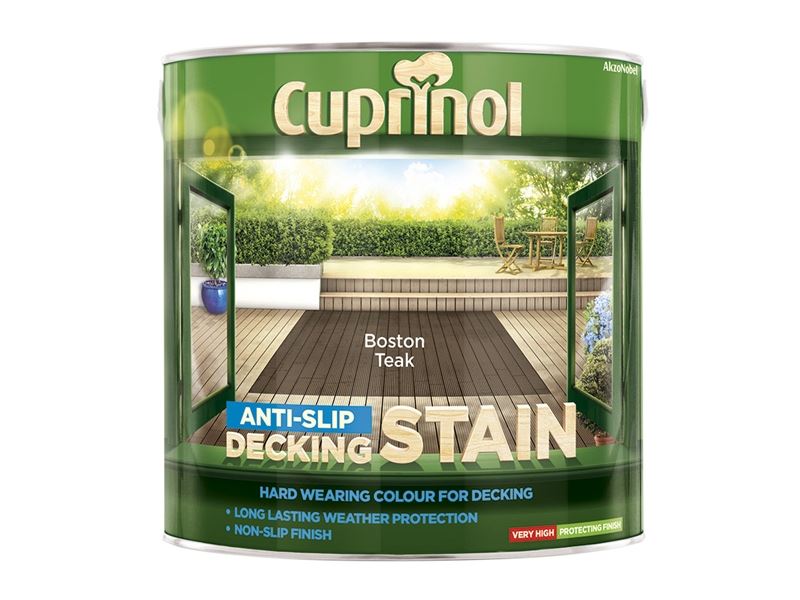
1) Choose the right stain for the job
Not all stains behave the same. Pick for timber type, indoor/outdoor use, and desired maintenance.
- Water-based stains: Low odour, quick drying, easy clean-up with water, and less yellowing over time. Great for indoor projects where you want faster turnaround. They raise the grain slightly, so expect a light de-nib between coats.
- Oil/spirit-based stains: Longer open time (so fewer lap marks), deeper penetration, and a classic warm tone. Clean brushes with white spirits. They take longer to dry and smell stronger, so ventilate well.
- Gel stains: Thicker consistency that sits closer to the surface. Excellent for vertical work, veneered furniture, and blotch-prone softwoods such as pine.
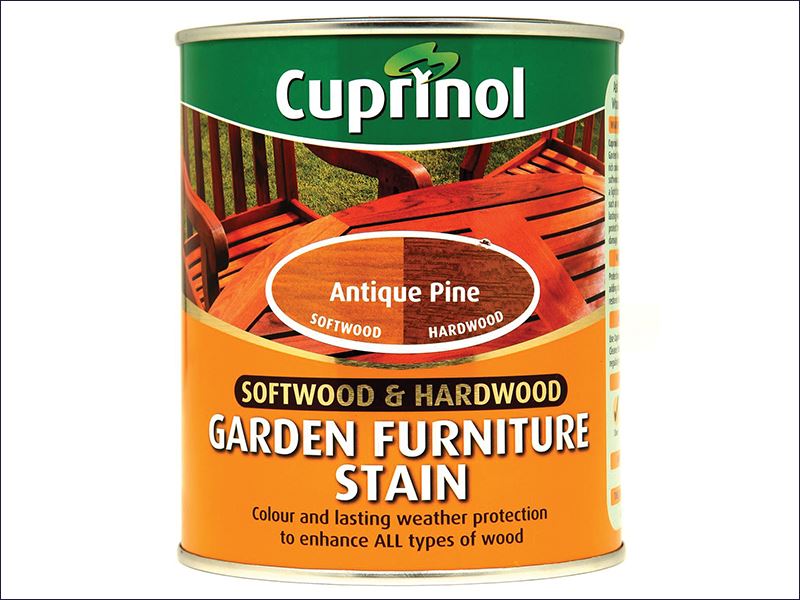
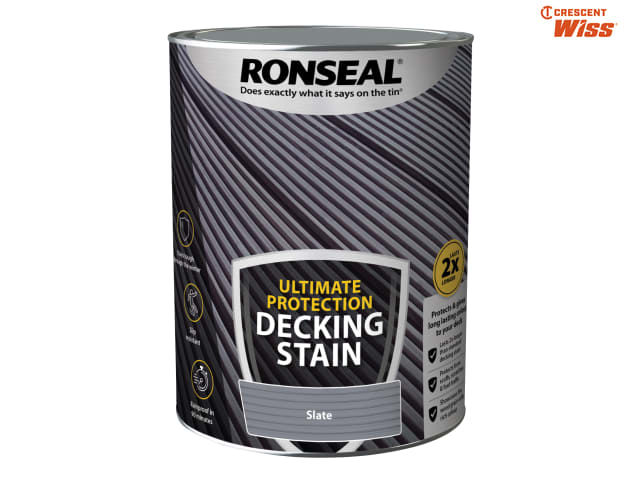
- Exterior stains: Look for UV inhibitors and mildew resistance. Many combine stain and protective binder, but you can also stain first and overcoat with an exterior varnish or oil.
Tip: Always buy enough from the same batch number to avoid shade differences. If using multiple tins, box them (mix in a larger container) for uniform colour.

2) Gather tools and safety kit
You don’t need a sprayer to get a good finish. A basic kit covers most projects:
- P120, P180, P240 abrasive paper (or pads)
- Tack cloths or a microfibre cloth
- Lint-free rags (cotton T-shirts are ideal)
- Quality natural-bristle brush for oil stains / synthetic for water-based
- Foam brushes for edges and mouldings
- Stir sticks and a measuring jug
- Masking tape and dust sheets
- White spirits (for oil-based clean-up) or water (for water-based)
- Nitrile gloves, safety specs, and a decent dust mask/respirator (P2)
Work in a well-ventilated area above 10°C and below 25°C; extreme temperatures cause uneven penetration and drying issues.
3) Prepare the surface properly
Prep is 80% of the job.
- Strip or clean: If the wood has an old finish, remove it with a sander or a suitable stripper. For bare, new timber, wipe away grime with a damp cloth and allow to dry.
- Sand progressively: Sand with P120 to flatten, then P180 to refine, finishing with P240 for most hardwoods. Softwoods may only need up to P180; going too fine can close the pores and reduce stain uptake. Always sand with the grain to avoid visible scratches.
- Deal with end grain: End grain drinks stain and goes dark. Lightly burnish end grain with P320 or apply a thin coat of sanding sealer/wood conditioner and sand back—this evens absorption.
- Dust removal: Vacuum thoroughly, then wipe with a slightly damp microfibre cloth. Any dust left behind becomes grit in your finish.
4) Test the stain before you commit
Different boards—even within the same species—take stain differently. Do a test on an off-cut or a concealed area (underside, back edge). Try one, two, and three coats to preview depth. If the sample blotches, consider:
- Switching to a gel stain ,
- Applying a wood conditioner (pre-stain sealer), or
- Diluting the stain slightly and layering more coats for control (check the manufacturer’s guidance before thinning).
5) Application methods
Rag application (most forgiving):
Decant stain into a tray. Drench a lint-free cloth lightly—don’t drip—then work the stain along the grain in manageable sections (say 30–50 cm). Wait 2–5 minutes, then wipe off the excess with a clean cloth, again with the grain. This yields an even, low-sheen look and minimises lap marks.
Brush application (best for mouldings and deep grain):
Load the brush generously and lay on with the grain. Work quickly to keep a wet edge. After the short set time, wipe off the excess. For open-grained woods like oak or ash, brushing first can drive colour into the pores beautifully.
Foam brush (edges and tight spots):
Ideal for profiles, beading, and inside corners where cloths bunch up. Follow immediately with a wipe-down cloth to level.
Spraying (advanced):
Gives superb uniformity on large, flat pieces. However, over-application can cause runs, and you’ll still need to back-wipe to remove excess. Only recommended if you’re confident with your kit.
6) Work in sections and watch the clock
Stain must be applied uniformly and removed before it starts to tack. Most products give a working time of 2–10 minutes before wiping back. Tackle one panel, stile, or board at a time so you can flood, wait, and wipe consistently. Keep a clean cloth pile to avoid smearing half-dry stain back onto the surface.
To avoid lap marks , always keep a wet edge—start at one end and progress steadily without skipping areas. If you must stop, end on a natural break (a joint or edge).
7) Build colour gradually
It’s far easier to add colour than to remove it. After your first coat has dried (often 1–3 hours for water-based; 6–12 hours for oil-based, check the tin), lightly de-nib with P320 or a fine abrasive pad. Wipe clean and apply a second coat if you want deeper tone. Most interior projects look right at 1–2 coats; very dark finishes may take 3.
If the wood still looks patchy, a whisper-thin glaze (stain mixed with a compatible clear finish) can even things out. Apply sparingly and wipe back.
8) Special cases: veneers, pine, and oak
- Veneers: Avoid aggressive sanding. Use gel stain or pre-conditioner to reduce risk of sanding through or blotching.
- Pine and other softwoods: Notorious for uneven uptake. Pre-condition, or apply a thin first coat, wipe fast, and build with additional light coats.
- Oak: Tannins can react with water-based products and steel wool. Use synthetic pads and consider a tannin-blocking primer if you’re topcoating with water-borne lacquer.
9) Protect the colour with a topcoat
Stain adds colour but not durable protection. Once fully dry, seal it:
- Wax: Quick, tactile finish for low-wear furniture; easiest to refresh.
- Oil (Danish, tung, hardwax oil): Enhances grain, good wear resistance; multiple thin coats recommended.
- Varnish/clear lacquer: Highest durability for tables and floors; available in matt to gloss. Use a product compatible with your stain type (water-borne over oil stain is generally fine once fully cured).
Between clear coats, de-nib with a fine pad for a silky finish.
10) Troubleshooting common issues
- Blotches: Sand back lightly, apply conditioner, and re-stain. For stubborn spots, spot-sand and feather into surrounding area.
- Lap marks/stripes: Caused by letting stain dry before wiping. Re-wet the area with fresh stain and blend out, then wipe promptly.
- Too dark: Wipe with white spirits (for oil-based) or water (for water-based) while still fresh to lift colour. Once cured, you’ll need to sand back or over-glaze with a slightly lighter, transparent mix to shift perception.
- Raised grain: Normal with water-based stains. De-nib lightly and continue.
- Sticky surface hours later: Excess wasn’t wiped. Flood a little matching solvent (or fresh stain), wait 1–2 minutes, then wipe clean.
11) Disposal and clean-up (important)
Lay used rags flat to dry outside or submerge in water in a sealed metal container. Oil-soaked cloths can self-heat and cause fires if bunched up. Dispose of according to your local council guidance. Wash brushes promptly and label them by product type so you don’t cross-contaminate in future.
Conclusion
Applying wood stain well is mostly about discipline: meticulous sanding, consistent timing, and thorough wiping. Choose the right product for your timber and environment, test first, and build colour in thin, controlled passes. Keep a wet edge, de-nib between coats, and always finish with a compatible clear topcoat for protection. Handle end grain thoughtfully and treat blotch-prone woods with conditioner or gel stain. Finally, respect safety—ventilation, gloves, and proper rag disposal are non-negotiable. Follow these steps and you’ll achieve an even, long-lasting finish that shows off the grain and elevates your project from “DIY” to “done right.”
- Menu
- Fancy Dress
- Electronics & Gaming
- Clothing
- Pet Products
- Garden
- Tools & DIY
- Home & Leisure
- Gifting & Parties
- Toys
- Information
- About Us
- Become a seller
- Affiliate Programme
- Frequently Asked Questions
- Returns and Refunds
- Terms And Conditions
- Privacy Policy
- View our blog
- Featured
- View more
- Customer Care
- [email protected]
- +44 (0) 1702 617821
- ILFD Group Ltd T/A Cazaar®
- Company Number: 07034824