- Events
- Australia Day
- Bastille Day
- Burns Night
- Christmas
- Darts
- Day of the Dead
- Eurovision
- Festivals / Summer
- Halloween
- Halloween Accessories
- Nativity
- Oktoberfest
- Olympics
- Pride
- Red Nose Day
- School Play Costumes
- St Andrew's Day
- St Davids Day
- St Georges / England Supporters
- St Patricks Day
- Six Nations Rugby
- Stag Do
- Summer
- Thanksgiving
- VE Day
- World Book Day
- Adult World Book Day Costumes
- 4th July

- Themes
- Animals
- Around The World
- Book Characters
- British
- Chocolate Factory
- Cops & Robbers
- Cosplay
- DC
- Doctors and Nurses
- Fairytale
- Funny / Novelty
- Gangster
- Harry Potter
- Hawaiian / Summer
- Heroes and Villains
- Historical
- Army, Air Force & Naval
- Mexican Fiesta
- Pick Me Up
- Pink Cowgirl Hat Aesthetic
- Pirates
- Popstars and Celebrities
- Pre Historic
- Religious
- Sexy Costumes
- Sports
- Star Wars
- Steampunk
- Suits
- Tiger King
- TV, Film and Game
- Wild West
- Wizard of Oz
- Wizards & Witches
- 2000s
- 1990s
- 1980s
- 1960s 1970s
- 1950s
- 1940s
- 1920s


- Cosmetics
- Body Crayons
- Eye Liner
- Fabric Paint
- Face & Body Paint
- Face Jewels
- Fake Blood
- FX Fluids
- Glitter Fixatives
- Glitter Gel
- Glitter Shaker
- Hair Gel
- Hair Streaks
- Lipgloss
- Lipstick
- Lip Tattoos
- Loose Glitter
- Mascara
- Nail Polish
- Pigment Shakers
- Pro Face Paint Cake Pots
- Scars, Wounds, Prosthetics & FX

- Accessories
- Bandanas & Scarves
- Belts
- Braces
- Capes
- Elf Accessories
- Eye Lashes
- Facial Hair
- Feather Boas
- Glasses
- Gloves
- Guns, Weapons & Swords
- Hats & Headwear
- Hosiery
- Inflatables
- Jewellery
- Masks
- Masquerade Masks
- Pacifiers
- Props
- Sets & Kits
- Shoe Covers
- Shoes / Boots
- Sleeves
- Teeth
- Ties & Bowties
- Tutus & Underskirts
- Wigs
- Wings & Wands
- Other


- Gifts by Category
- Alternative
- Balloon Dog Sculptures
- Batteries
- Colouring Books
- Decorative Accessories
- Food & Drink
- Fragrance
- Gadgets & Tech
- Gift Sets
- Gifts for the Home
- Homeware
- Jewellery
- Keepsakes
- Knitting Wool
- Life
- Luggage & Suitcases
- Miscellaneous
- Ornaments
- Personalised Gifts
- Puzzle Books
- Puzzles
- Slippers
- Smoking
- Stationery
- Umbrellas
- Vehicle
- Wallets & Purses
- Warmies


-
- Australia Day
- Bastille Day
- Burns Night
- Christmas
- Darts
- Day of the Dead
- Eurovision
- Festivals / Summer
- Halloween
- Halloween Accessories
- Nativity
- Oktoberfest
- Olympics
- Pride
- Red Nose Day
- School Play Costumes
- St Andrew's Day
- St Davids Day
- St Georges / England Supporters
- St Patricks Day
- Six Nations Rugby
- Stag Do
- Summer
- Thanksgiving
- VE Day
- World Book Day
- Adult World Book Day Costumes
- 4th July
-
- Animals
- Around The World
- Book Characters
- British
- Chocolate Factory
- Cops & Robbers
- Cosplay
- DC
- Doctors and Nurses
- Fairytale
- Funny / Novelty
- Gangster
- Harry Potter
- Hawaiian / Summer
- Heroes and Villains
- Historical
- Army, Air Force & Naval
- Mexican Fiesta
- Pick Me Up
- Pink Cowgirl Hat Aesthetic
- Pirates
- Popstars and Celebrities
- Pre Historic
- Religious
- Sexy Costumes
- Sports
- Star Wars
- Steampunk
- Suits
- Tiger King
- TV, Film and Game
- Wild West
- Wizard of Oz
- Wizards & Witches
- 2000s
- 1990s
- 1980s
- 1960s 1970s
- 1950s
- 1940s
- 1920s
-
- Bandanas & Scarves
- Belts
- Braces
- Capes
- Elf Accessories
- Eye Lashes
- Facial Hair
- Feather Boas
- Glasses
- Gloves
- Guns, Weapons & Swords
- Hats & Headwear
- Hosiery
- Inflatables
- Jewellery
- Masks
- Masquerade Masks
- Pacifiers
- Props
- Sets & Kits
- Shoe Covers
- Shoes / Boots
- Sleeves
- Teeth
- Ties & Bowties
- Tutus & Underskirts
- Wigs
- Wings & Wands
- Other


-
- Alternative
- Balloon Dog Sculptures
- Batteries
- Colouring Books
- Decorative Accessories
- Food & Drink
- Fragrance
- Gadgets & Tech
- Gift Sets
- Gifts for the Home
- Homeware
- Jewellery
- Keepsakes
- Knitting Wool
- Life
- Luggage & Suitcases
- Miscellaneous
- Ornaments
- Personalised Gifts
- Puzzle Books
- Puzzles
- Slippers
- Smoking
- Stationery
- Umbrellas
- Vehicle
- Wallets & Purses
- Warmies

How to Build Shoe Storage
by Darren Butler
Last updated: Jan 30, 2026
Shoes have a habit of multiplying, and before you know it they are scattered across hallways, bedrooms and cupboards. Good shoe storage is not just about keeping things tidy; it helps protect footwear, saves space and makes everyday life easier. Whether you live in a compact flat or a busy family home, building your own shoe storage can be a cost-effective and satisfying solution. With a few basic tools, affordable materials and some planning, you can create storage that fits your space perfectly. This guide will walk you through how to build shoe storage step by step, from design ideas to construction and finishing touches.
1. Planning Your Shoe Storage
Before picking up any tools, it is important to plan. Start by considering how many pairs of shoes you need to store. Count everyday footwear, seasonal shoes and occasional pairs such as boots or formal shoes. This will help determine the size and layout of your storage.
Next, think about where the storage will go. Common locations include hallways, under stairs, bedrooms, utility rooms or inside wardrobes. Measure the available space carefully, noting height, width and depth. In narrow hallways, shallow storage works best, while under-stair spaces allow for deeper units.
Finally, decide on the type of storage you want. Popular DIY options include:
- Open shelving
- Shoe racks
- Bench seating with hidden storage
- Vertical shoe towers
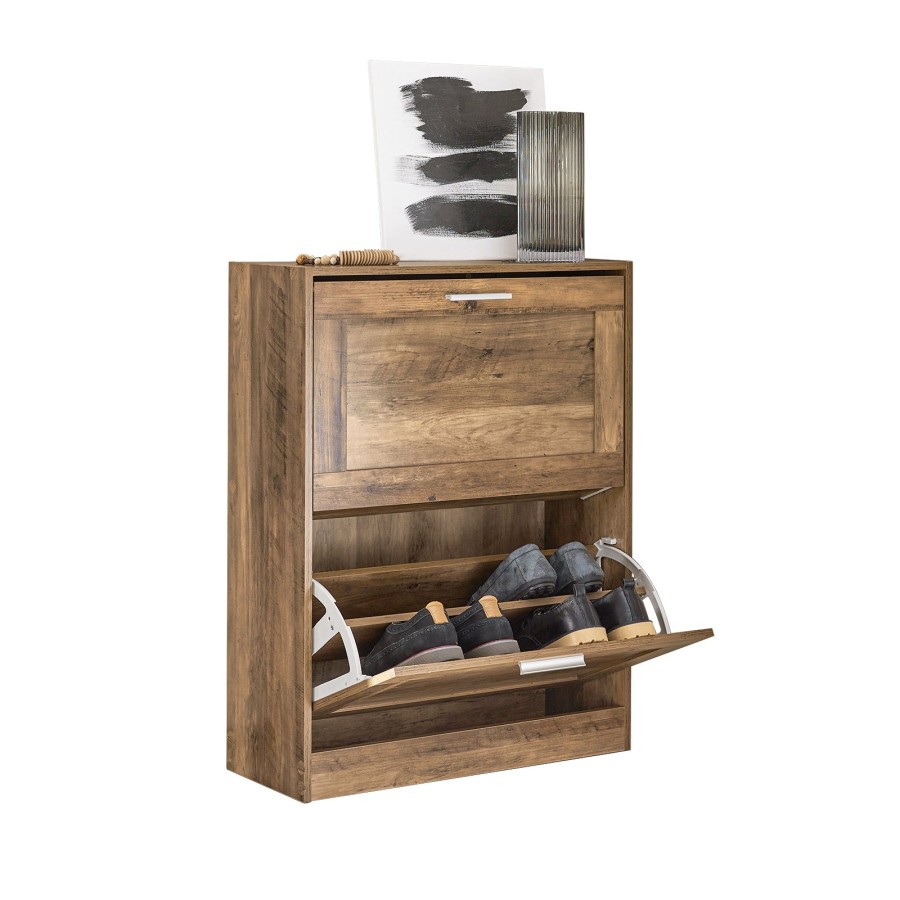
- Pull-out drawers or cubbies
Your choice should balance practicality, appearance and the skill level you are comfortable with.
2. Choosing Materials
The most common material for DIY shoe storage is wood, as it is sturdy, affordable and easy to work with. Options include:
- Plywood: Strong and versatile, ideal for shelves and cabinets
- MDF: Smooth and easy to paint, but less moisture resistant
- Solid timber: More expensive, but durable and attractive
For lightweight or temporary storage, metal piping, plastic crates or repurposed pallets can also work well.
You will also need basic fixings such as screws, wood glue and wall plugs if mounting to a wall. Consider adding protective finishes like varnish, paint or wood oil to improve durability and appearance.
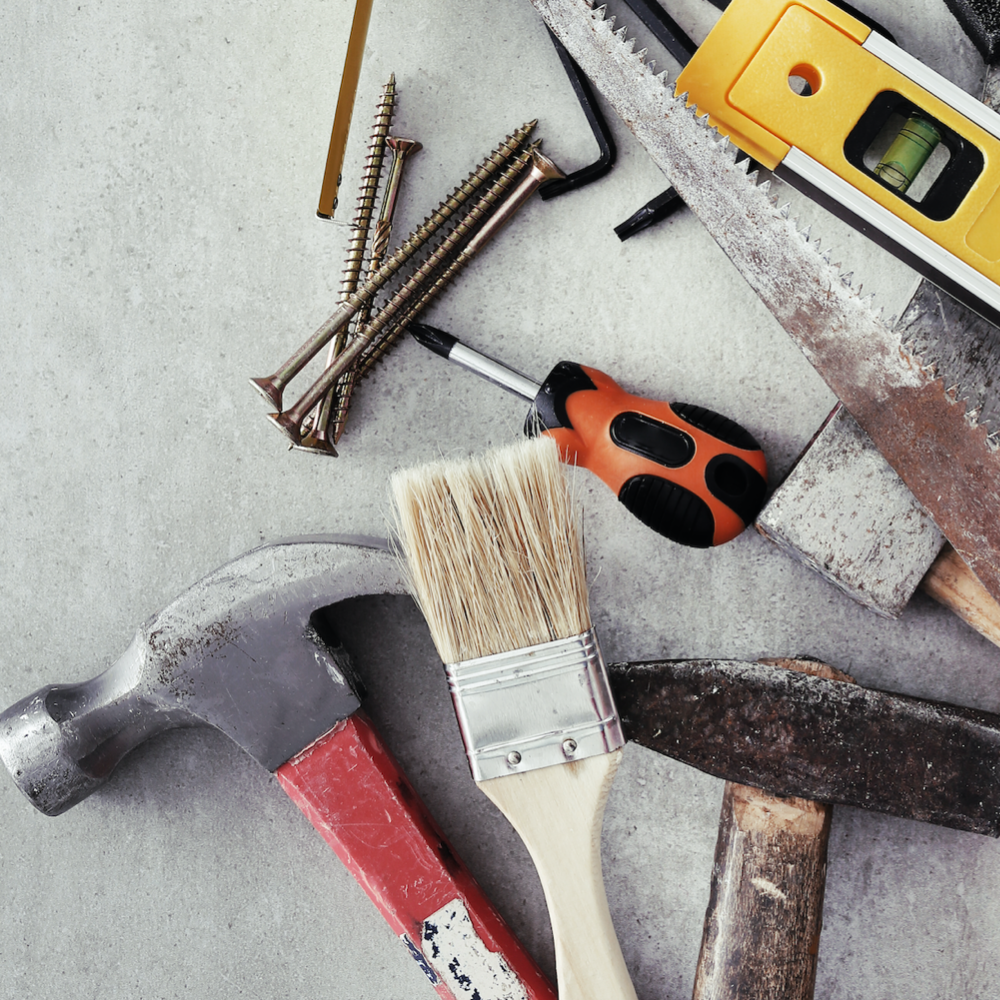
3. Tools You Will Need
Most shoe storage projects can be completed with standard DIY tools:
- Tape measure
- Pencil
- Spirit level
- Hand saw or circular saw
- Drill and drill bits
- Screwdriver
- Sandpaper or electric sander
- Clamps (helpful but optional)
Always work safely, wear protective eyewear and follow tool instructions.
4. Building a Simple Shoe Shelf
A basic open shoe shelf is one of the easiest projects and ideal for beginners.
Start by cutting your wood to size. For a standard shelf, allow around 30–35 cm depth to fit most adult shoes comfortably. Cut side panels, shelves and a back support if required.
Attach the shelves to the side panels using screws and wood glue, checking with a spirit level to ensure everything is straight. Space shelves evenly, leaving extra height for boots if needed. Sand all edges to prevent splinters.
If the unit will stand on the floor, add small feet or a plinth to protect it from damp. If wall-mounted, fix securely into wall studs or use appropriate wall plugs.
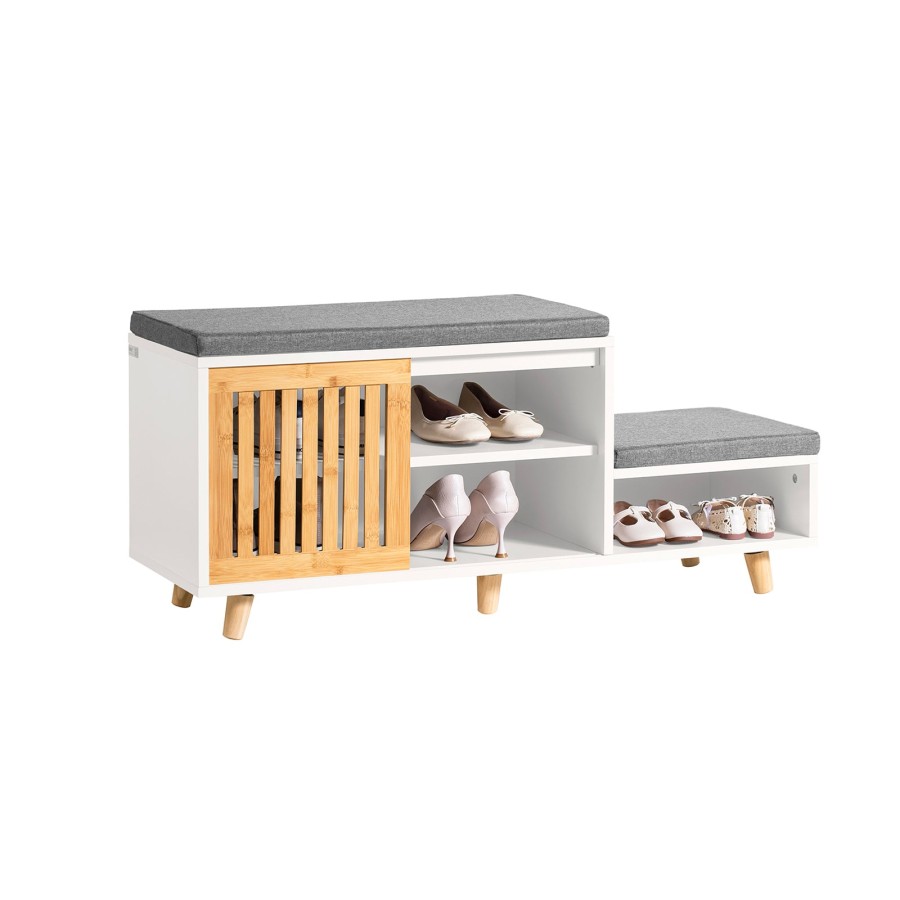
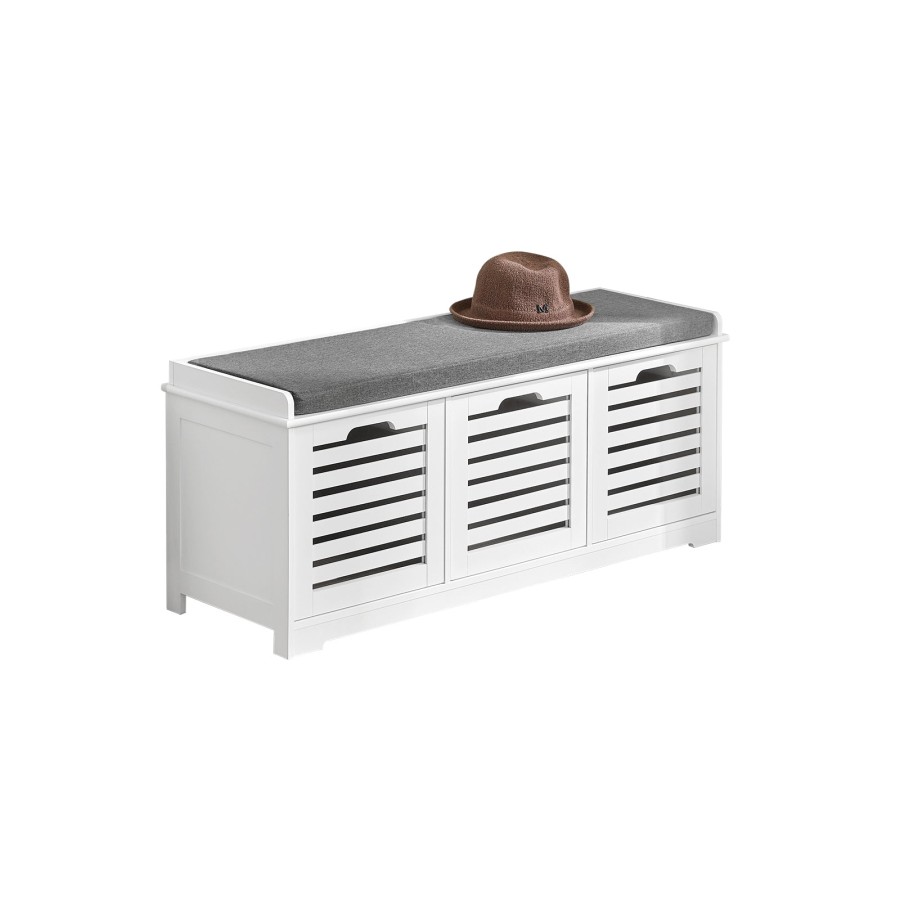
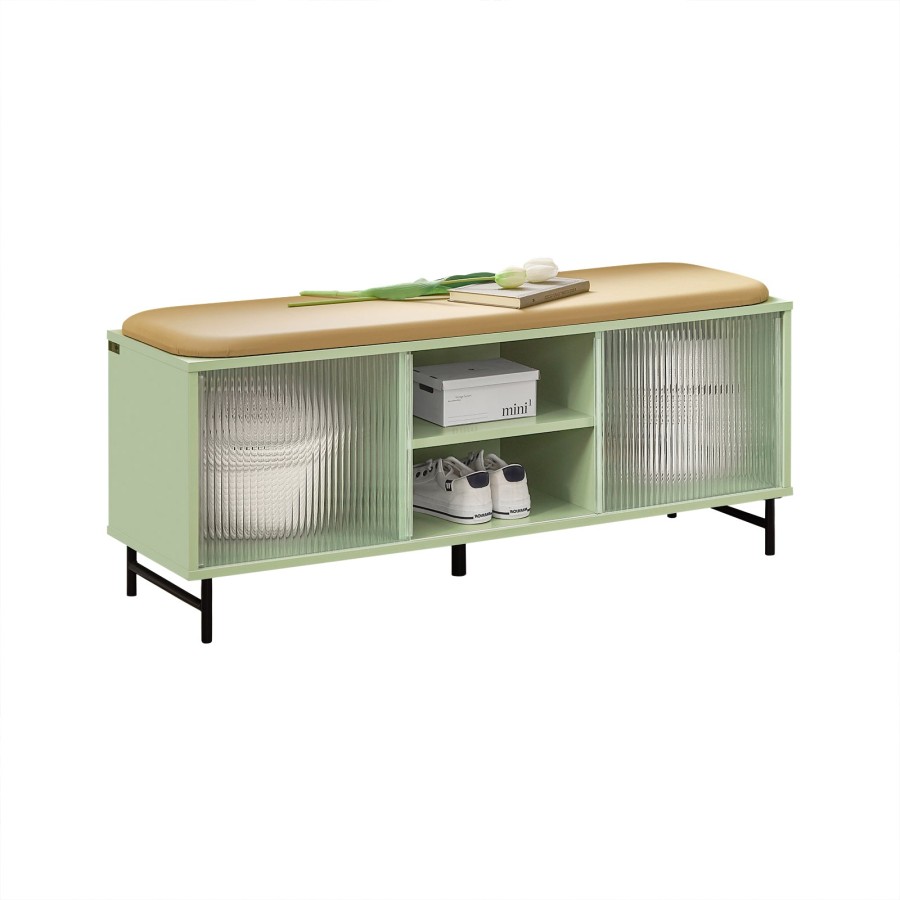
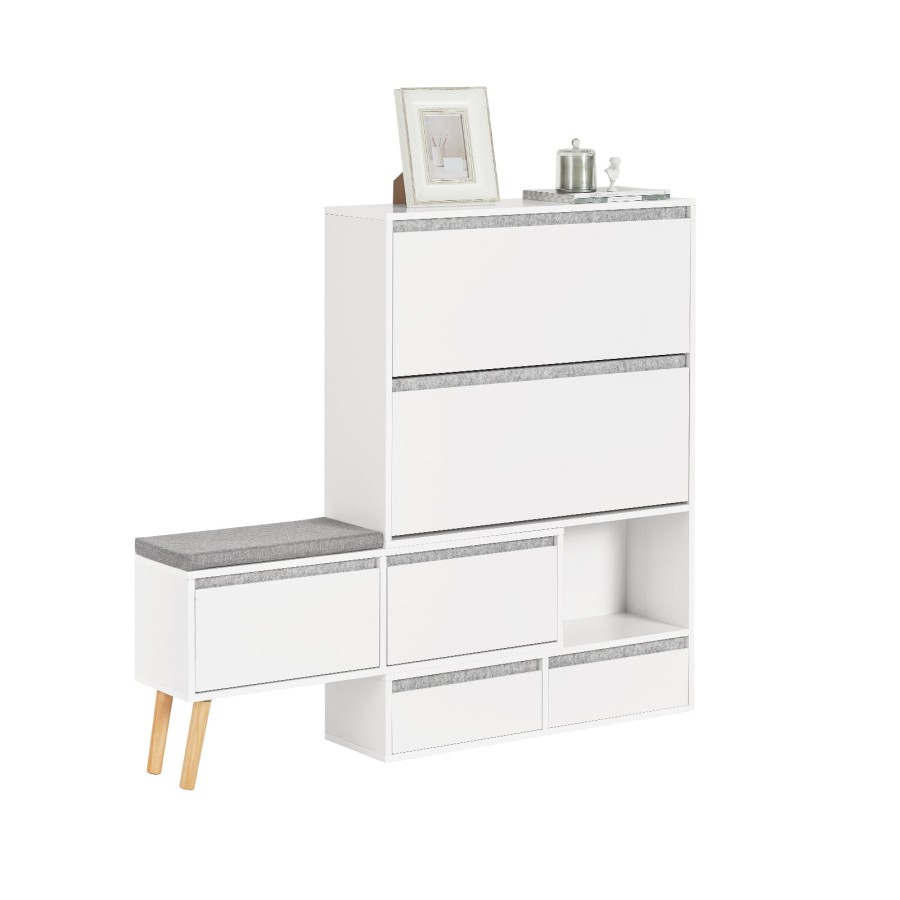
5. Building Shoe Storage with Seating
Combining shoe storage with seating is especially useful in hallways. A shoe bench provides somewhere to sit while putting on shoes and keeps clutter hidden.
To build one, construct a rectangular frame using timber battens. Add a solid top panel strong enough to sit on. Inside the frame, fit shelves or cubbies for shoes. For extra storage, consider hinged lids or pull-out baskets.
Finish with a cushion or padded seat for comfort. Upholstery foam covered in wipe-clean fabric works well in busy households.
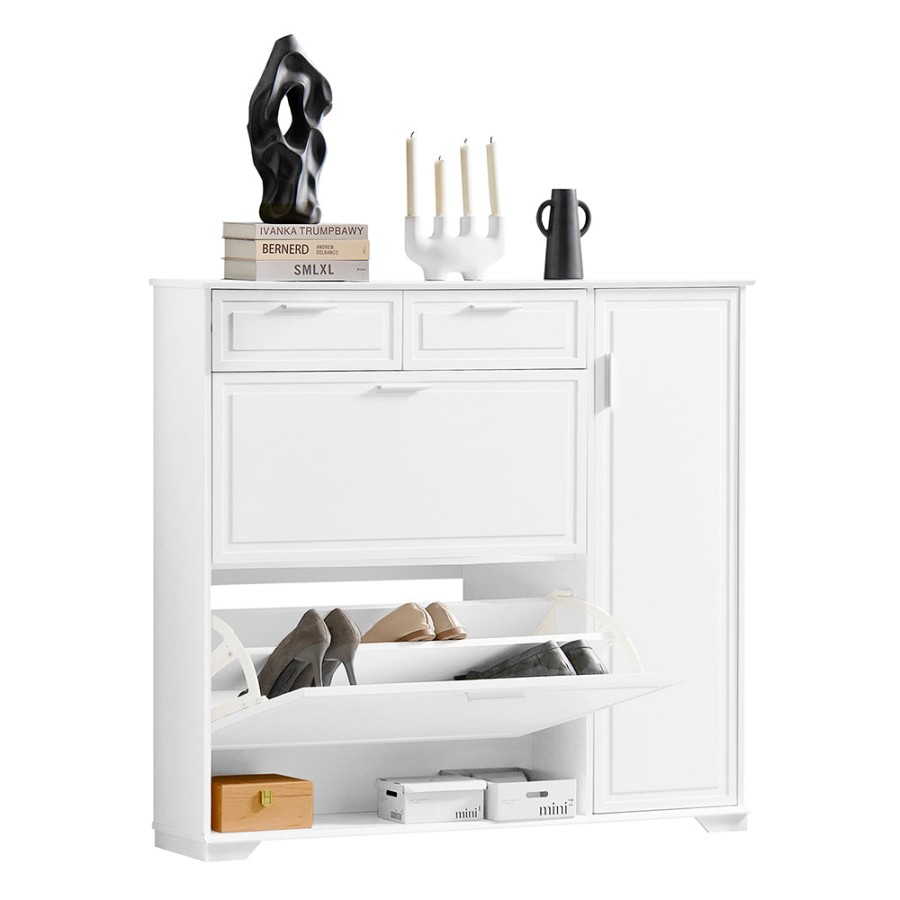
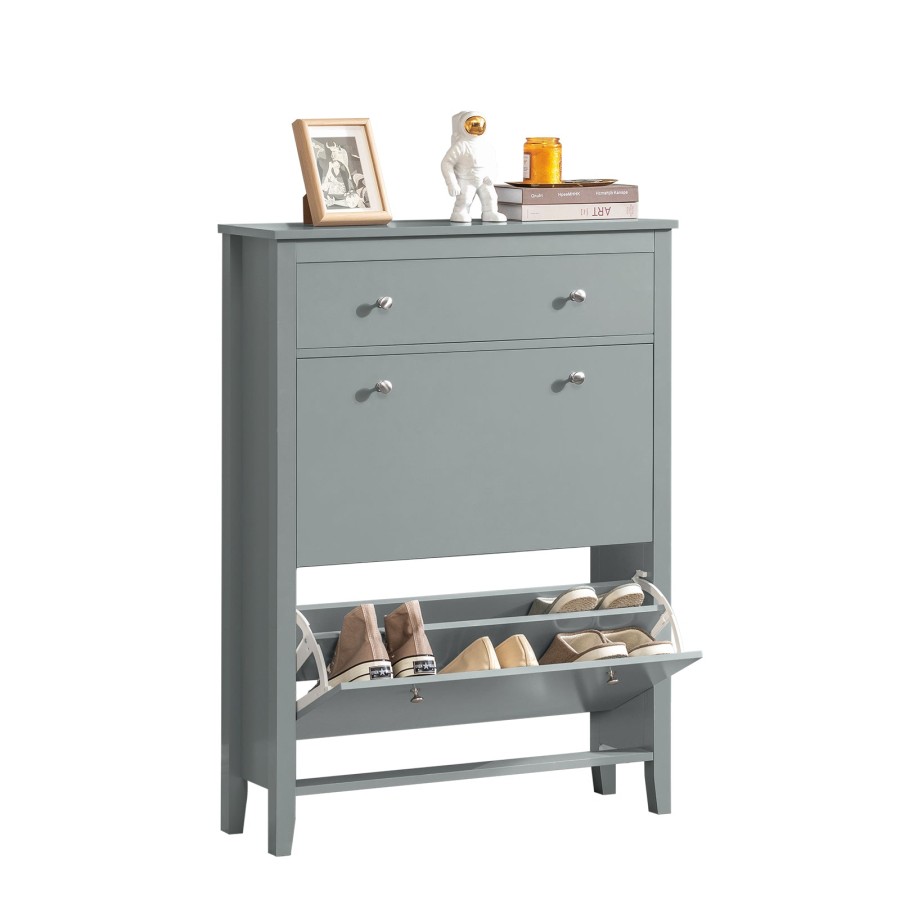
6. Vertical and Space-Saving Solutions
If floor space is limited, vertical storage is a great option. Tall, narrow shoe towers can fit behind doors or into corners. These can be built with stacked cubbies or angled shelves that display shoes neatly.
Another clever solution is under-stair storage. Measure the slope carefully and build stepped shelves or drawers that follow the angle of the stairs. While more complex, this approach maximises unused space and creates a bespoke finish.
For wardrobes, consider pull-out shoe racks mounted on drawer runners. These allow easy access and keep shoes organised without taking up too much room.
7. Ventilation and Shoe Care
Good shoe storage should allow air to circulate. Avoid completely sealed units unless they have ventilation holes or slatted panels. This helps prevent odours and moisture build-up.
Line shelves with removable mats or newspaper to protect the wood from dirt and moisture. Boots benefit from taller compartments or boot supports to help them keep their shape.
8. Finishing Touches
Once the structure is complete, finishing touches make all the difference. Sand surfaces smooth and apply paint, stain or varnish to suit your interior. Light colours can make small spaces feel larger, while darker tones add a more traditional look.
Label sections for family members or shoe types to keep everything organised. Adding hooks above the storage for coats or bags can turn a simple unit into a complete hallway solution.
Conclusion
Building your own shoe storage is a practical project that can transform how your home feels and functions. By planning carefully, choosing the right materials and working step by step, you can create storage that fits your space perfectly and reflects your personal style. Whether you opt for a simple shelf, a multifunctional bench or a space-saving vertical unit, DIY shoe storage helps reduce clutter and protect your footwear. Best of all, it offers the satisfaction of creating something useful with your own hands — a small project that makes a big everyday difference.
- Menu
- Fancy Dress
- Electronics & Gaming
- Clothing
- Pet Products
- Garden
- Tools & DIY
- Home & Leisure
- Gifting & Parties
- Toys
- Information
- About Us
- Become a seller
- Affiliate Programme
- Frequently Asked Questions
- Returns and Refunds
- Terms And Conditions
- Privacy Policy
- View our blog
- Featured
- View more
- Customer Care
- [email protected]
- +44 (0) 1702 617821
- ILFD Group Ltd T/A Cazaar®
- Company Number: 07034824